-
Apply to nail last visited (I use ORLY BONDER, colour orange), leave to dry for 5 min
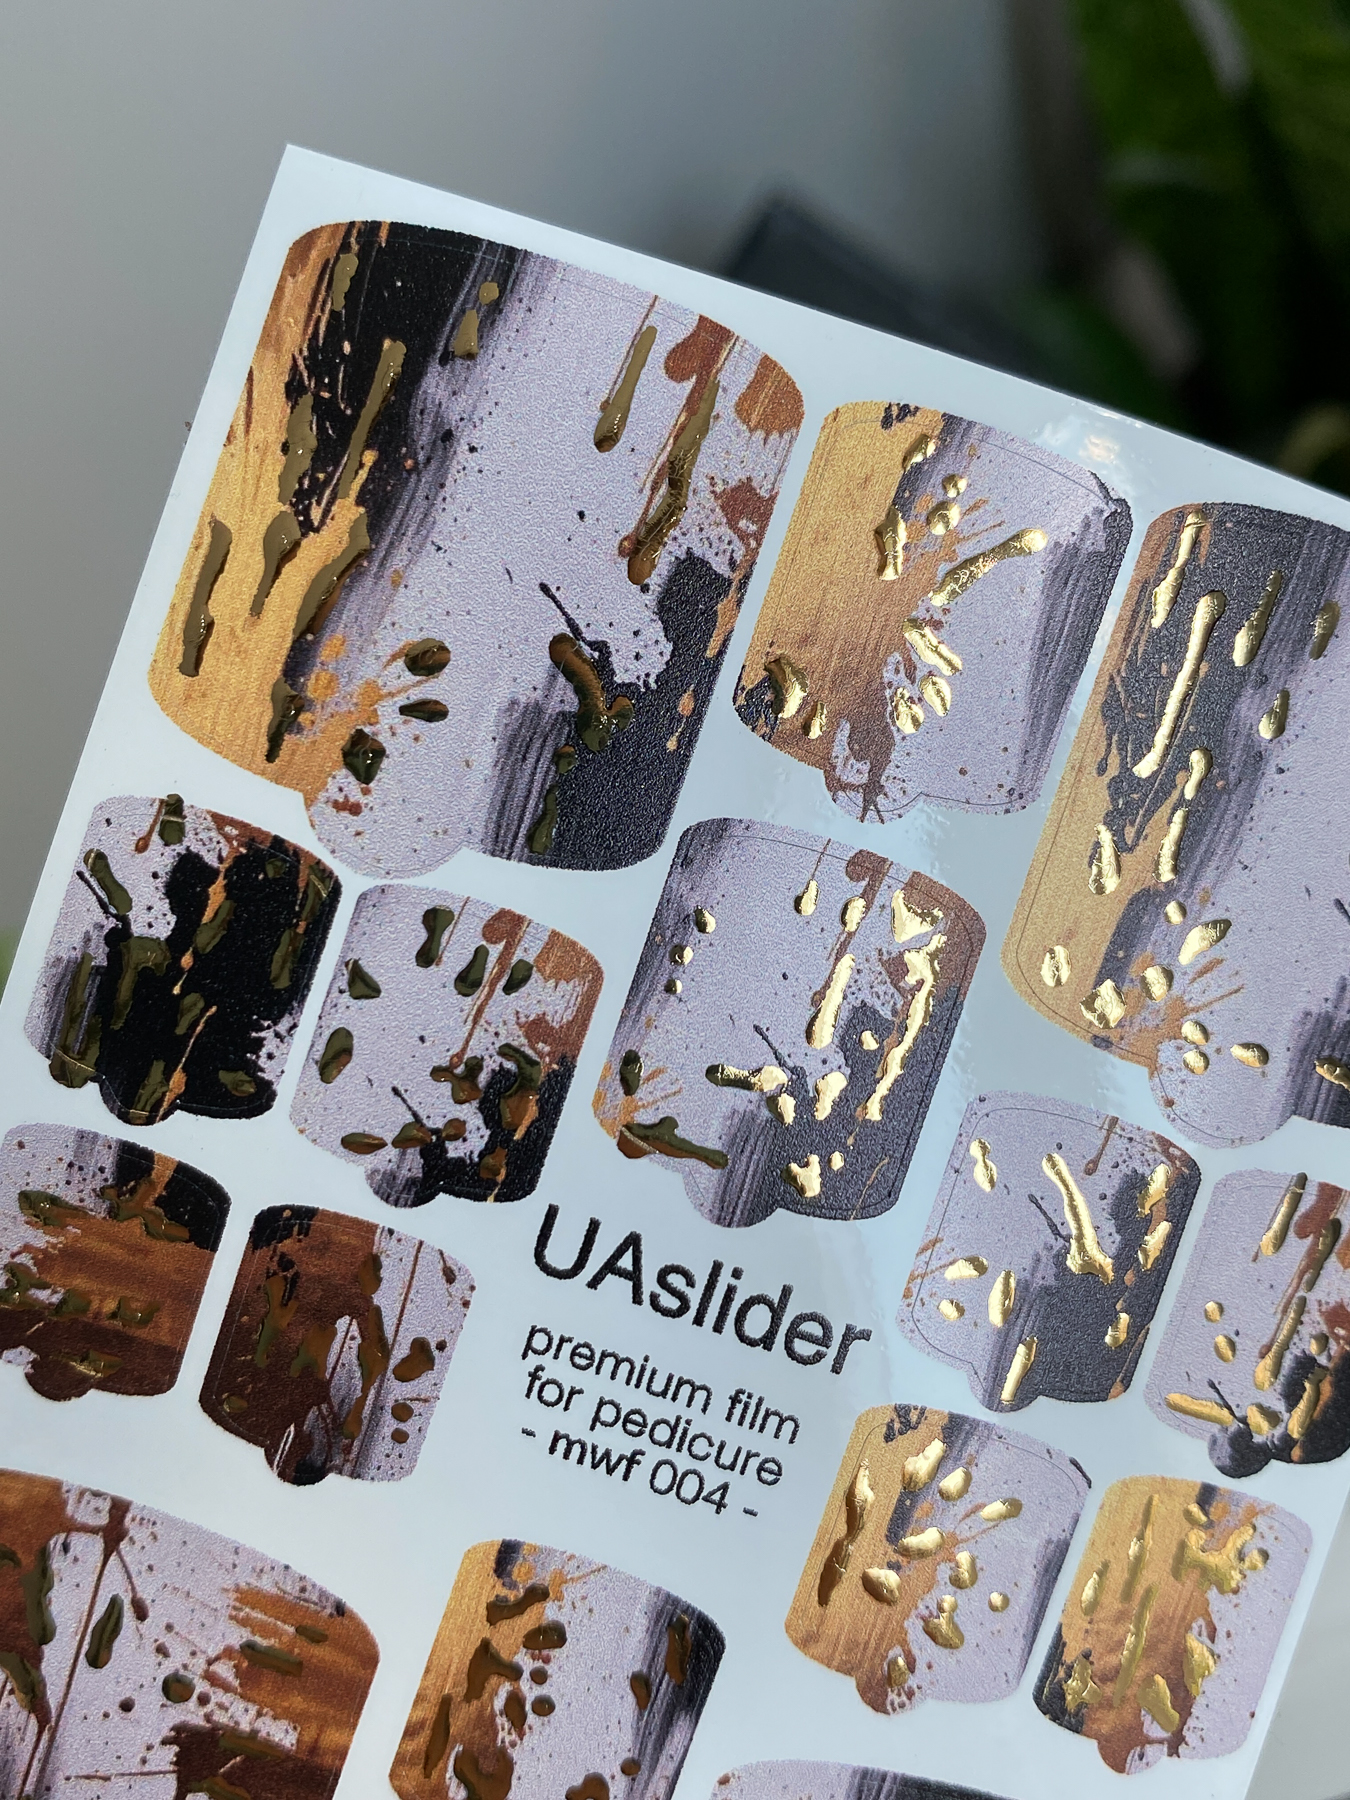
- Measure the width of the nail plate, then the width of the sticker.
-
Place the sticker in the desired position (if necessary, cut the sticker to fit the nail plate beforehand).
-
Using a wooden stick, first press the sticker in the middle and then the sides. It is not a good idea to stretch the glue, it may start to curl. Excessive adhesive on the sides will need to be trimmed, leave 1-2mm more rather than less as the curvature of the nail plate will take up some of the surface.
-
Attach with a non-sticky topcoat or put on Orly topcoat. No varnish is needed for a matt finish. However, if you wish to do so, please note that matt varnishes containing solvents and acids may damage the ink.
-
If the sticker extends to the free edge of the nail, file down in the direction of the superfluous sticker carefully before adding the topical gel